Colormaps, Colorbars and Clipping#
This notebook demonstrates how to map scalar values to colors using Colormap, display a legend with Colorbar, and clip geometry with Clipping.
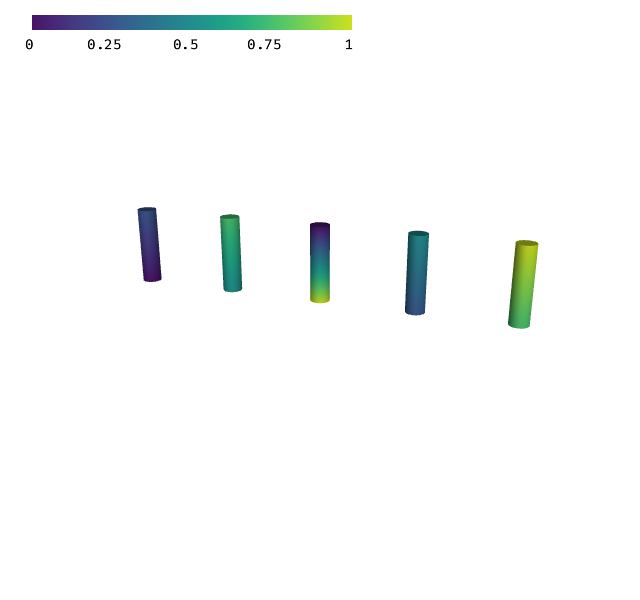
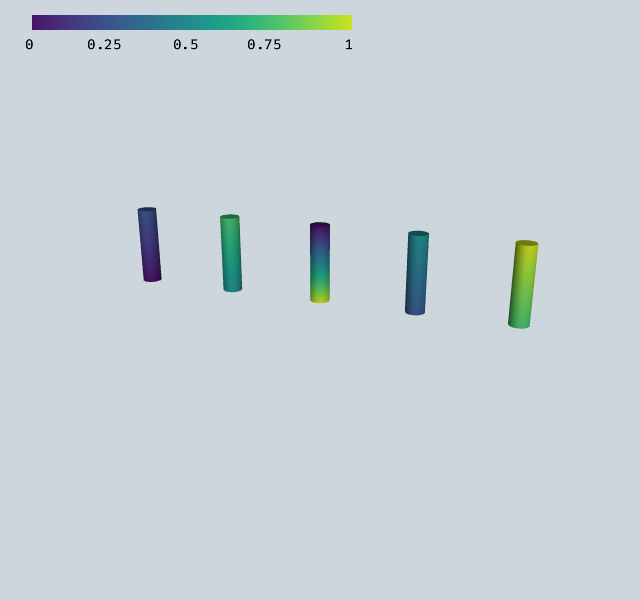
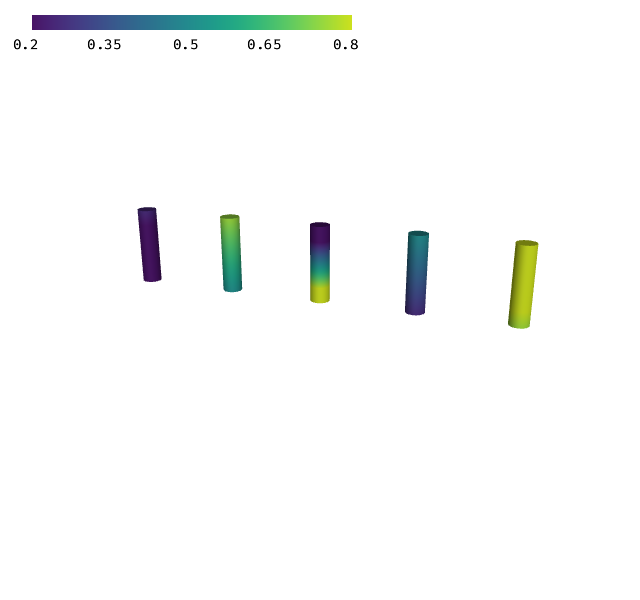
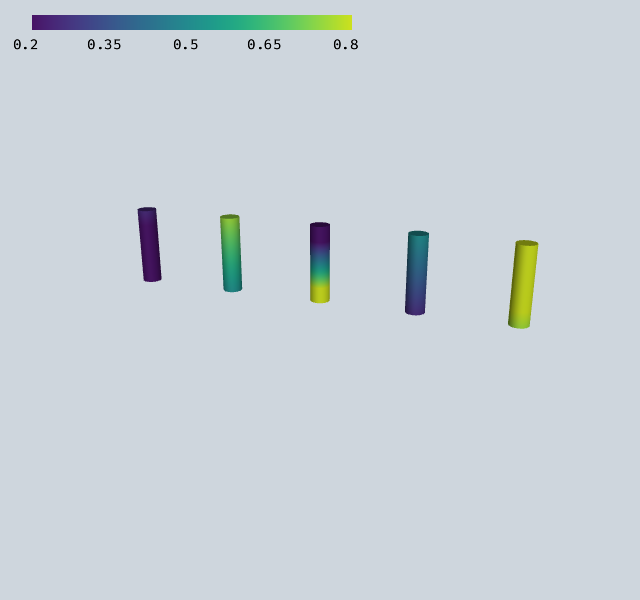
Basic colormap#
Pass scalar values and a Colormap to ShapeRenderer instead of explicit RGBA colors. Each instance needs two values (start and end of the shape).
[1]:
import numpy as np
from webgpu.shapes import generate_cylinder, ShapeRenderer
from webgpu.colormap import Colormap, Colorbar
from webgpu.jupyter import Draw

n = 5
positions = [[i, 0, 0] for i in range(n)]
directions = [[0, 0, 1]] * n
values = [float(i) / (n - 1) for i in range(n)]

cmap = Colormap(colormap="viridis")
renderer = ShapeRenderer(
    generate_cylinder(n=16, radius=0.1, height=0.8),
    positions=positions,
    directions=directions,
    values=values * 2,  # two values per instance (start and end)
    colormap=cmap,
)
Draw([renderer, Colorbar(cmap)])
[1]:
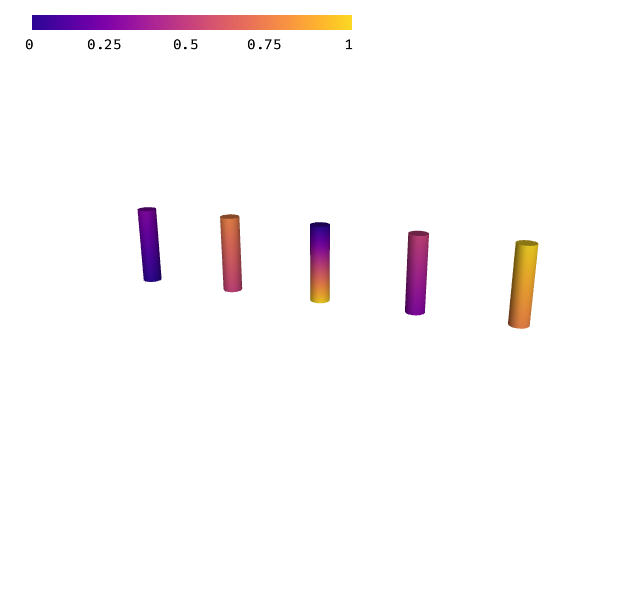
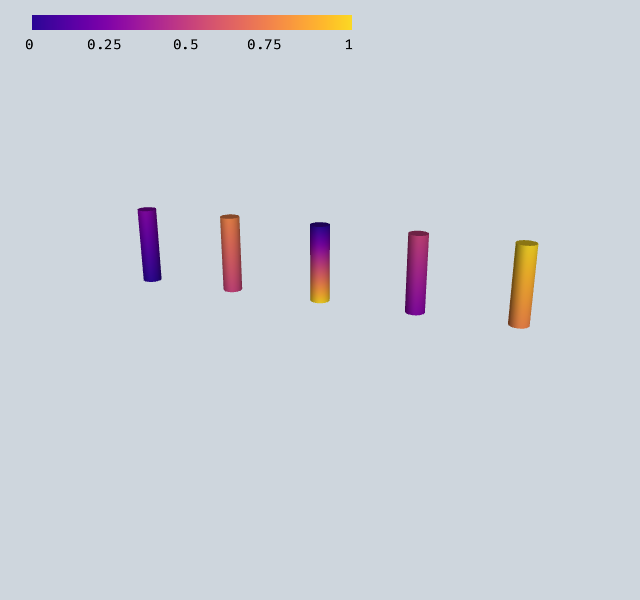
Different colormaps#
Several built-in colormaps are available: "viridis", "plasma", "matlab:jet", "cet_l20", "matplotlib:coolwarm", and any name supported by the cmap package.
[2]:
cmap = Colormap(colormap="plasma")
renderer = ShapeRenderer(
    generate_cylinder(n=16, radius=0.1, height=0.8),
    positions=positions,
    directions=directions,
    values=values * 2,
    colormap=cmap,
)
Draw([renderer, Colorbar(cmap)])
[2]:
Controlling the mapped range#
Use minval and maxval to fix the value range that maps to the colormap. Values outside this range are clamped to the colormap extremes.
[3]:
cmap = Colormap(minval=0.2, maxval=0.8, colormap="viridis")
renderer = ShapeRenderer(
    generate_cylinder(n=16, radius=0.1, height=0.8),
    positions=positions,
    directions=directions,
    values=values * 2,
    colormap=cmap,
)
Draw([renderer, Colorbar(cmap)])
[3]:
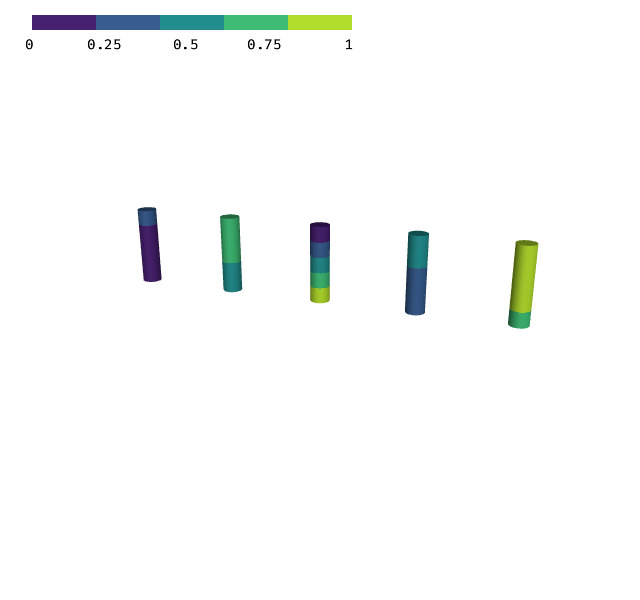
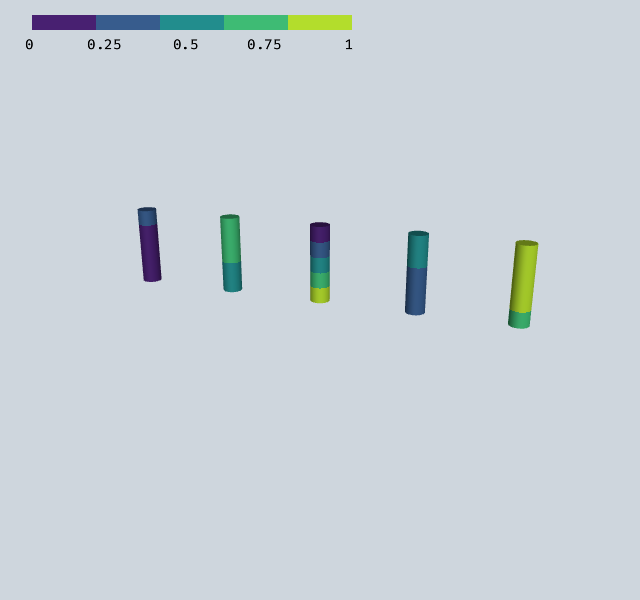
Discrete colormaps#
Enable discrete mode to quantize the colormap into a fixed number of color bands.
[4]:
cmap = Colormap(colormap="viridis")
cmap.set_discrete(True)
cmap.set_n_colors(5)
renderer = ShapeRenderer(
    generate_cylinder(n=16, radius=0.1, height=0.8),
    positions=positions,
    directions=directions,
    values=values * 2,
    colormap=cmap,
)
Draw([renderer, Colorbar(cmap)])
[4]:
Clipping#
The Clipping object defines a clipping region that discards fragments on one side of a plane or outside/inside a sphere. Renderers that support clipping use it to cut away parts of the geometry.
Clipping modes#
Mode |
Description |
|---|---|
|
No clipping (default) |
|
Clip by a plane defined by |
|
Clip by a sphere defined by |
Creating a clipping object#
[5]:
from webgpu.clipping import Clipping

# Plane clipping: discard everything on the negative side of the plane
clip_plane = Clipping(
    mode=Clipping.Mode.PLANE,
    center=[0, 0, 0],
    normal=[1, 0, 0],
)

# Sphere clipping: discard everything outside a sphere
clip_sphere = Clipping(
    mode=Clipping.Mode.SPHERE,
    center=[0, 0, 0],
    radius=0.5,
)

print(f"Plane mode: {clip_plane.mode}")
print(f"Sphere mode: {clip_sphere.mode}")
Plane mode: 1
Sphere mode: 2
The Clipping object is passed to the scene alongside renderers. Renderers that support clipping will use it to discard fragments. You can also adjust the clipping interactively via set_offset(), set_x_value(), etc.